Select Categories
How to Import & Export Member
February 19, 2024Section 1: Introduction
Member reports provide all member information and member classifications.
In this topic, you will learn how to import members into the system and how to export the members to an Excel file.
Section 2: How to Access Member Page
Method 1: Search “Members” in the search menu at the top of NMS.
Method 2: Go to My Sales > Members
Section 3: How to Import Members
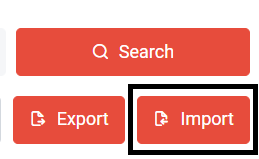
Step 1: Click “Import”

Step 2: Choose a Type
Type 1: Add member manually
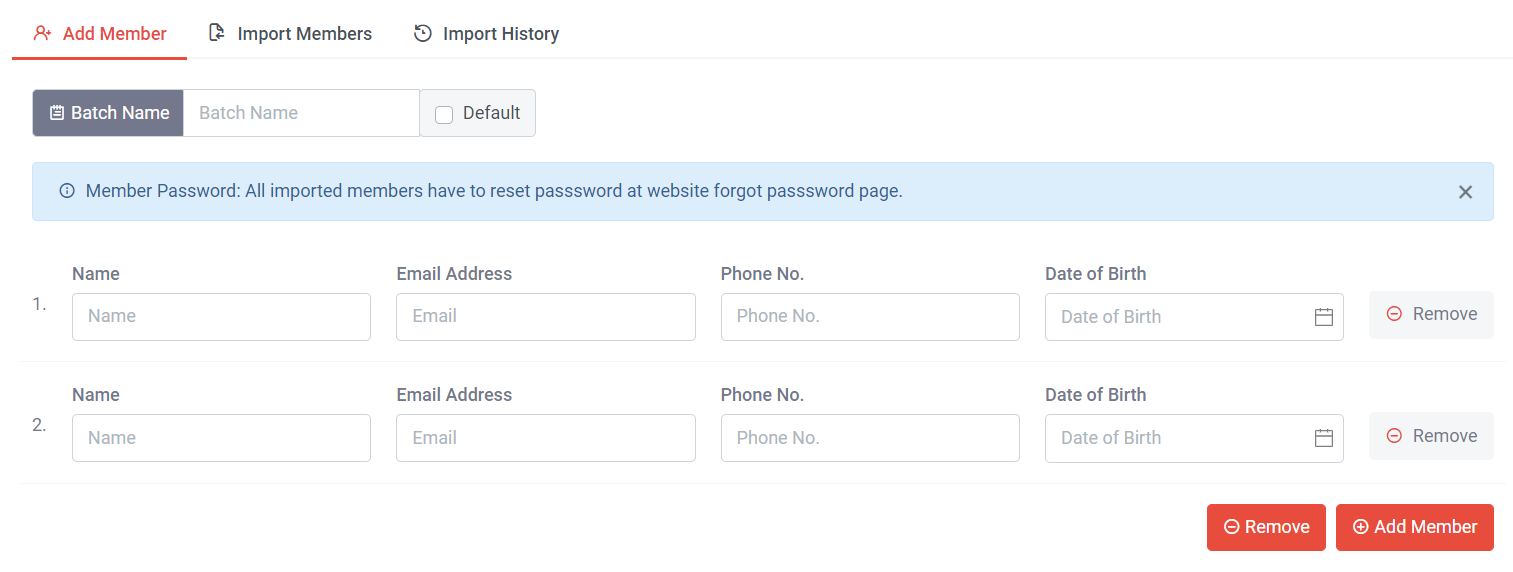
Step 3: Create a Batch Name (Batch name is required for easy tracing in import history) or tick 'Default' to use the default batch name.
Step 4: Manually add member information; Name, Email Address, and Phone Number are mandatory, while Date of Birth is optional.
You can click 'Add Member' to insert a new row or click 'Remove' to delete an unwanted row.
Step 5: Once done, click “Submit”
Type 2: Download CSV file template and import
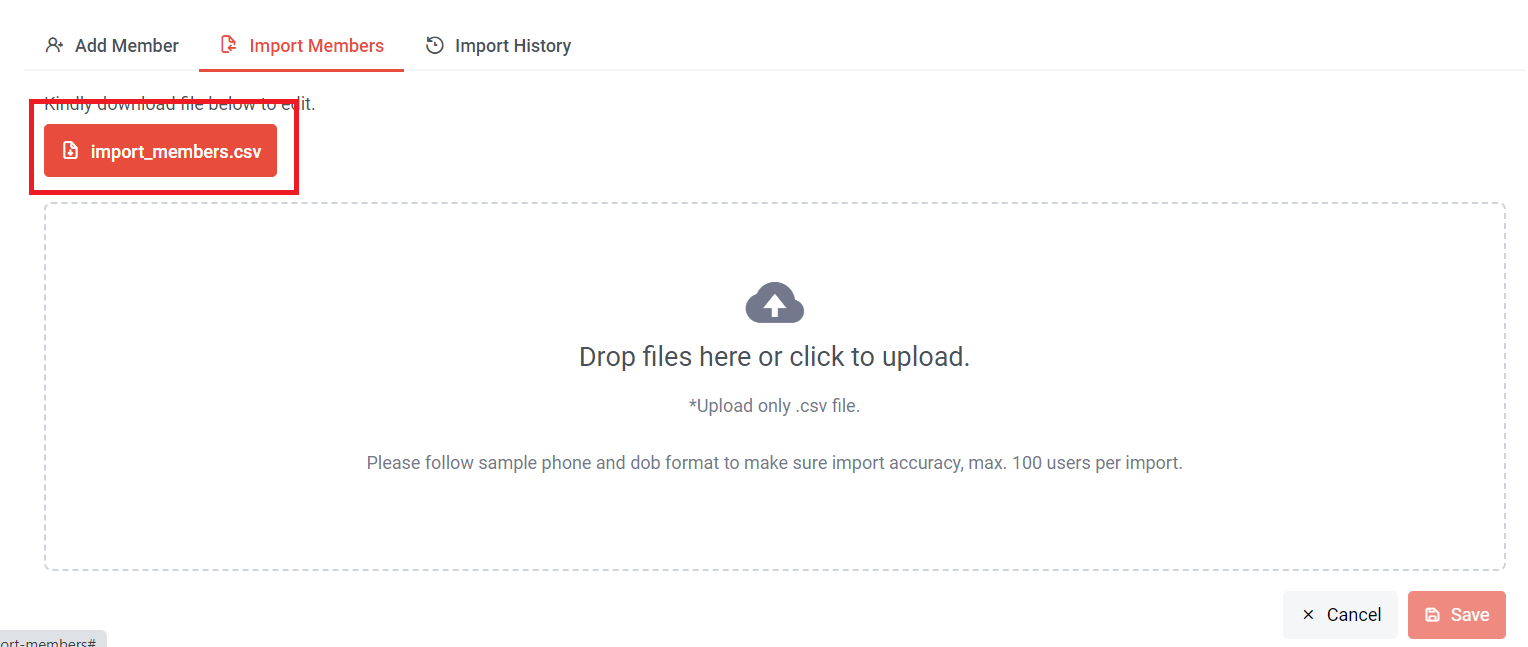
Step 3: Click “Import Members”
Step 4: Click “Import_members.csv” to download the file

Step 5: Fill in the information: email, and phone are required; Date of Birth is optional ***Maximum of 100 users per import.
Need to follow the sample phone and Dob format to ensure import accuracy.
For example: sample phone format 6012-3456789 or 60123456789; dob: 1/1/1970
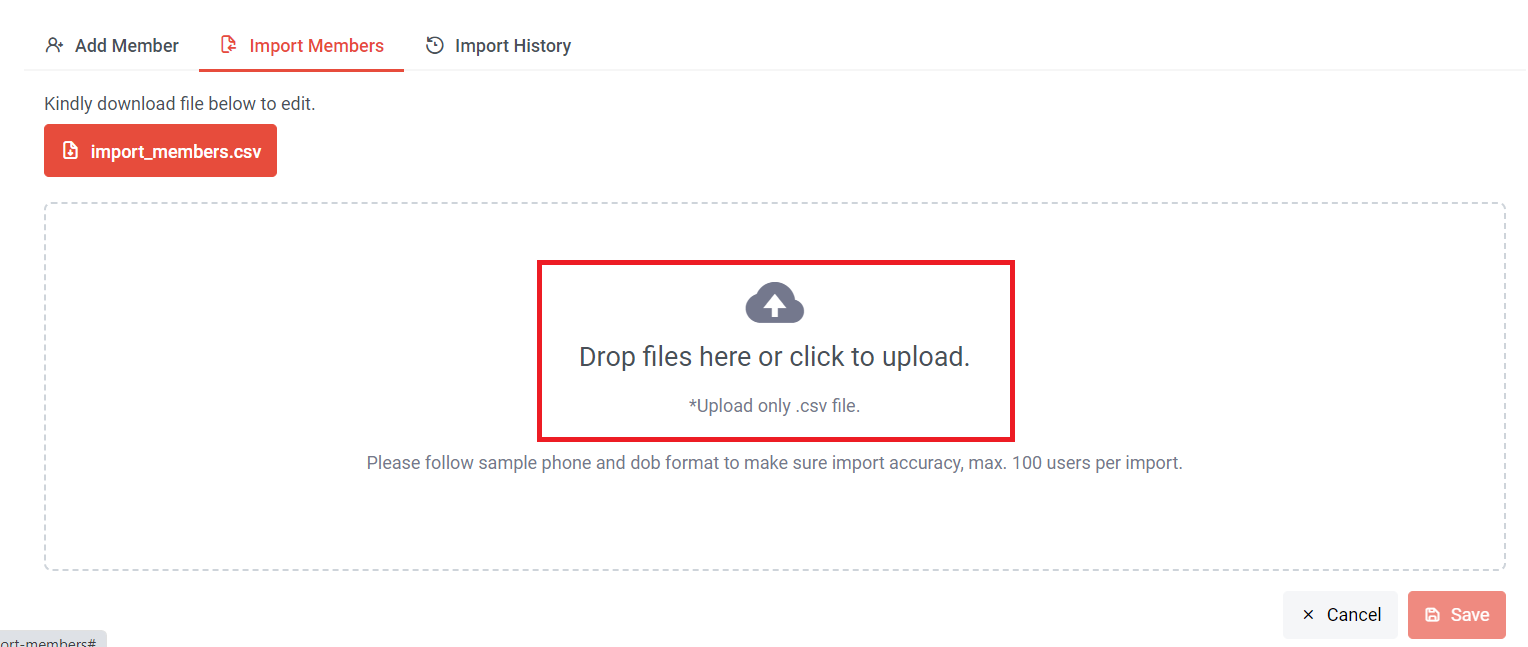
Step 6: Click to upload csv file
Step 7: Click “Save”
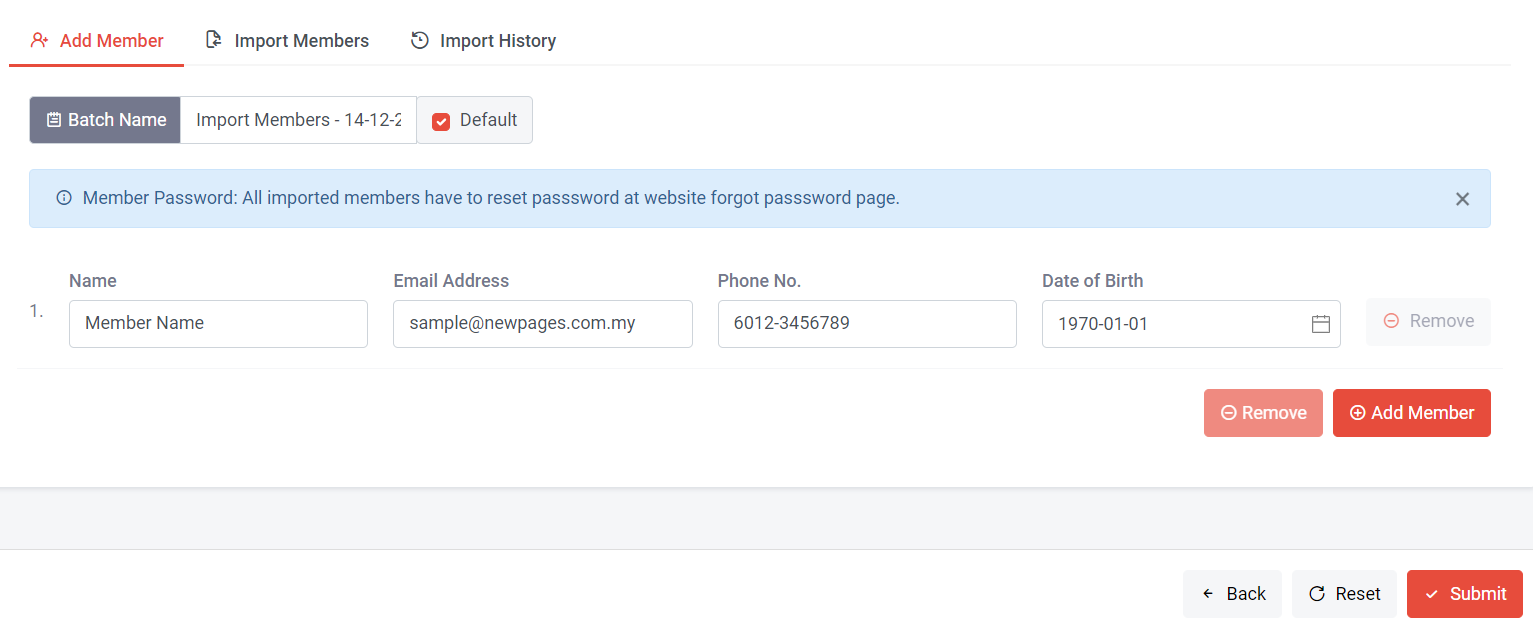
Step 8: Use the default batch name or create your own Batch Name (Batch name is required for easy tracing in import history)
Step 9: Check and verify the data and click “Submit” if there are no issues.

Step 10: You can check import history with their batch name, total members import and date import
You can trace a member's import history by clicking on icon.
Section 4: How to Export Member
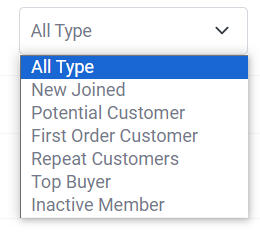
You can choose to export all types of member information or export information based on certain member types.
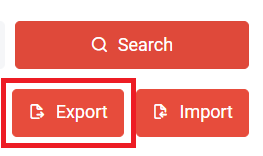
Click “Export” to download the file