Select Categories
Facebook Sync
February 2, 2024Section 1: Introduction
With our social media synchronization, website content such as products, gallery will be automatically posted to your Facebook. You won't have to post the same thing twice!
Section 2: How to connect Facebook if your page not under any Facebook Business Account

Step 1: Go to OneSync > Facebook Sync or Search Facebook Sync in the Search Menu / Function
Step 2: Click “Connect Facebook”
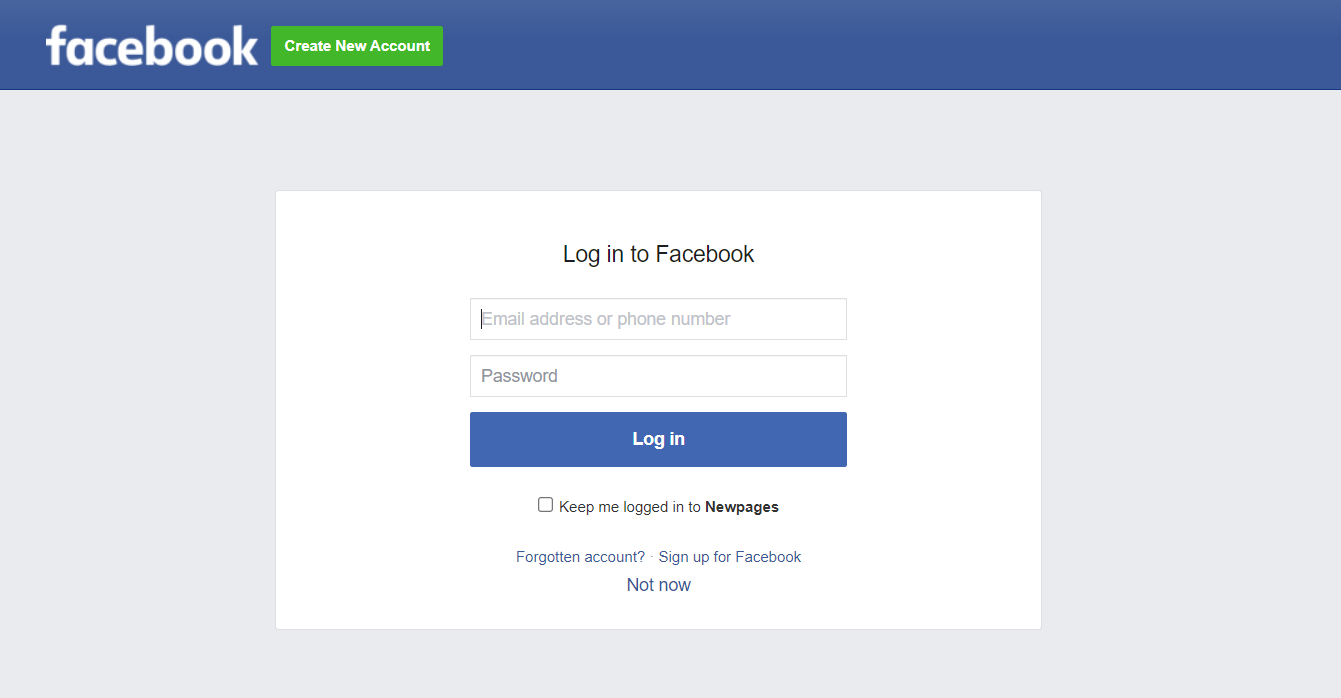
Step 3: Login Facebook
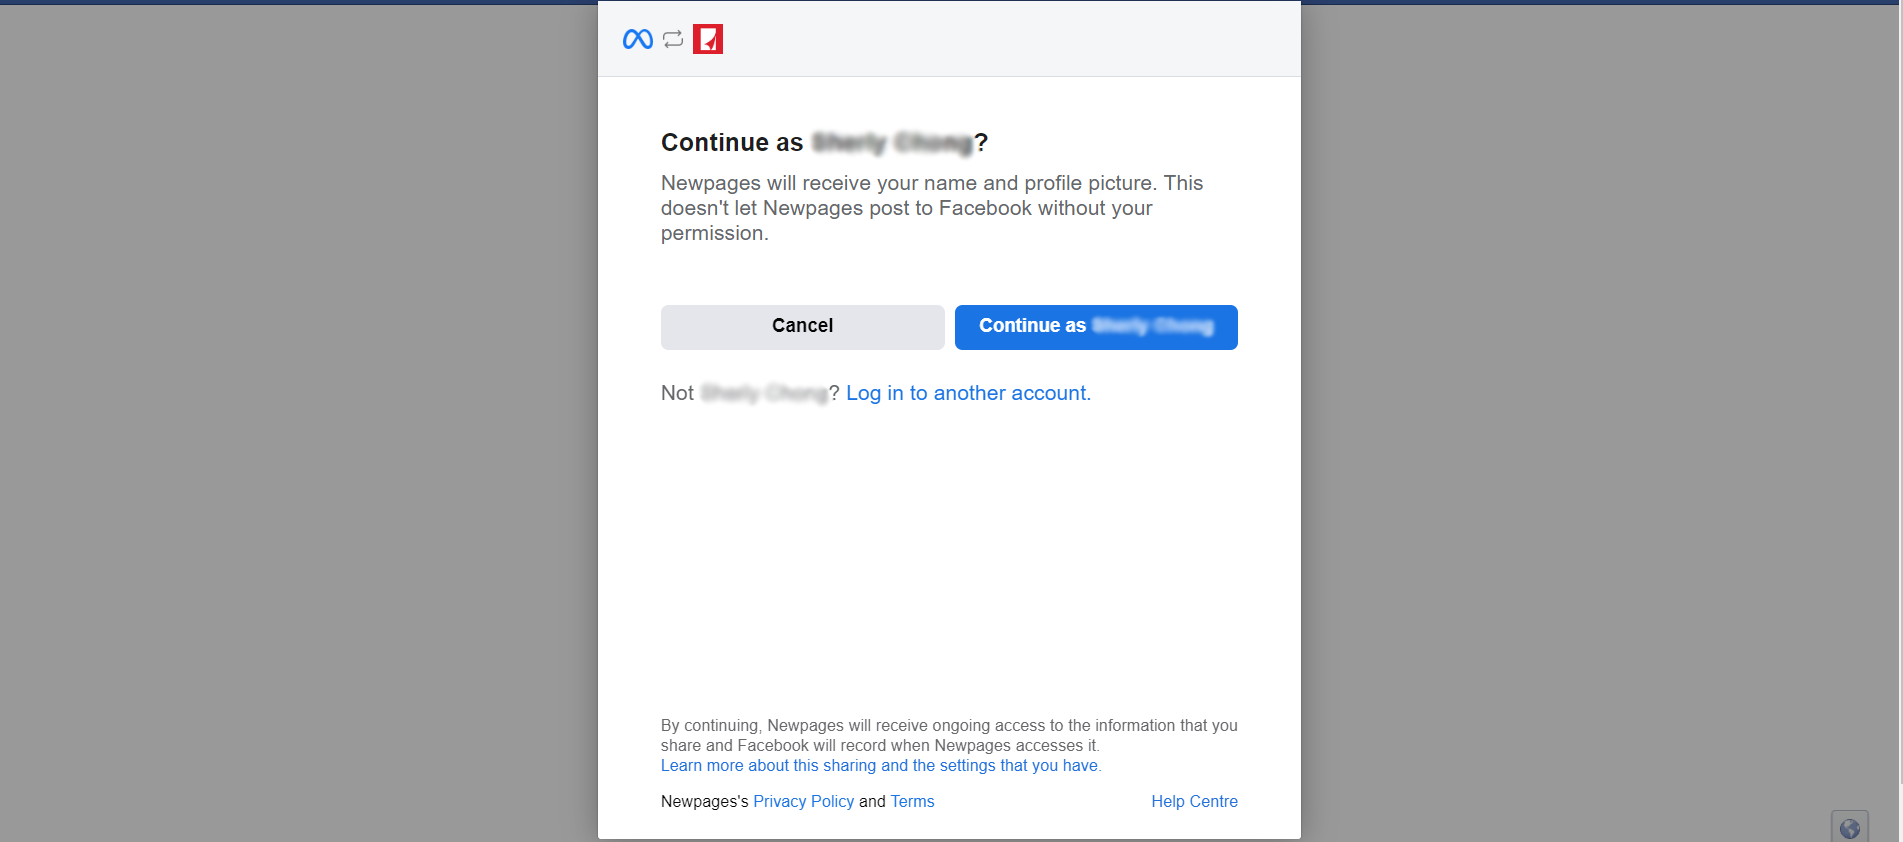
Step 4: Click “Continue as (Facebook Name)”
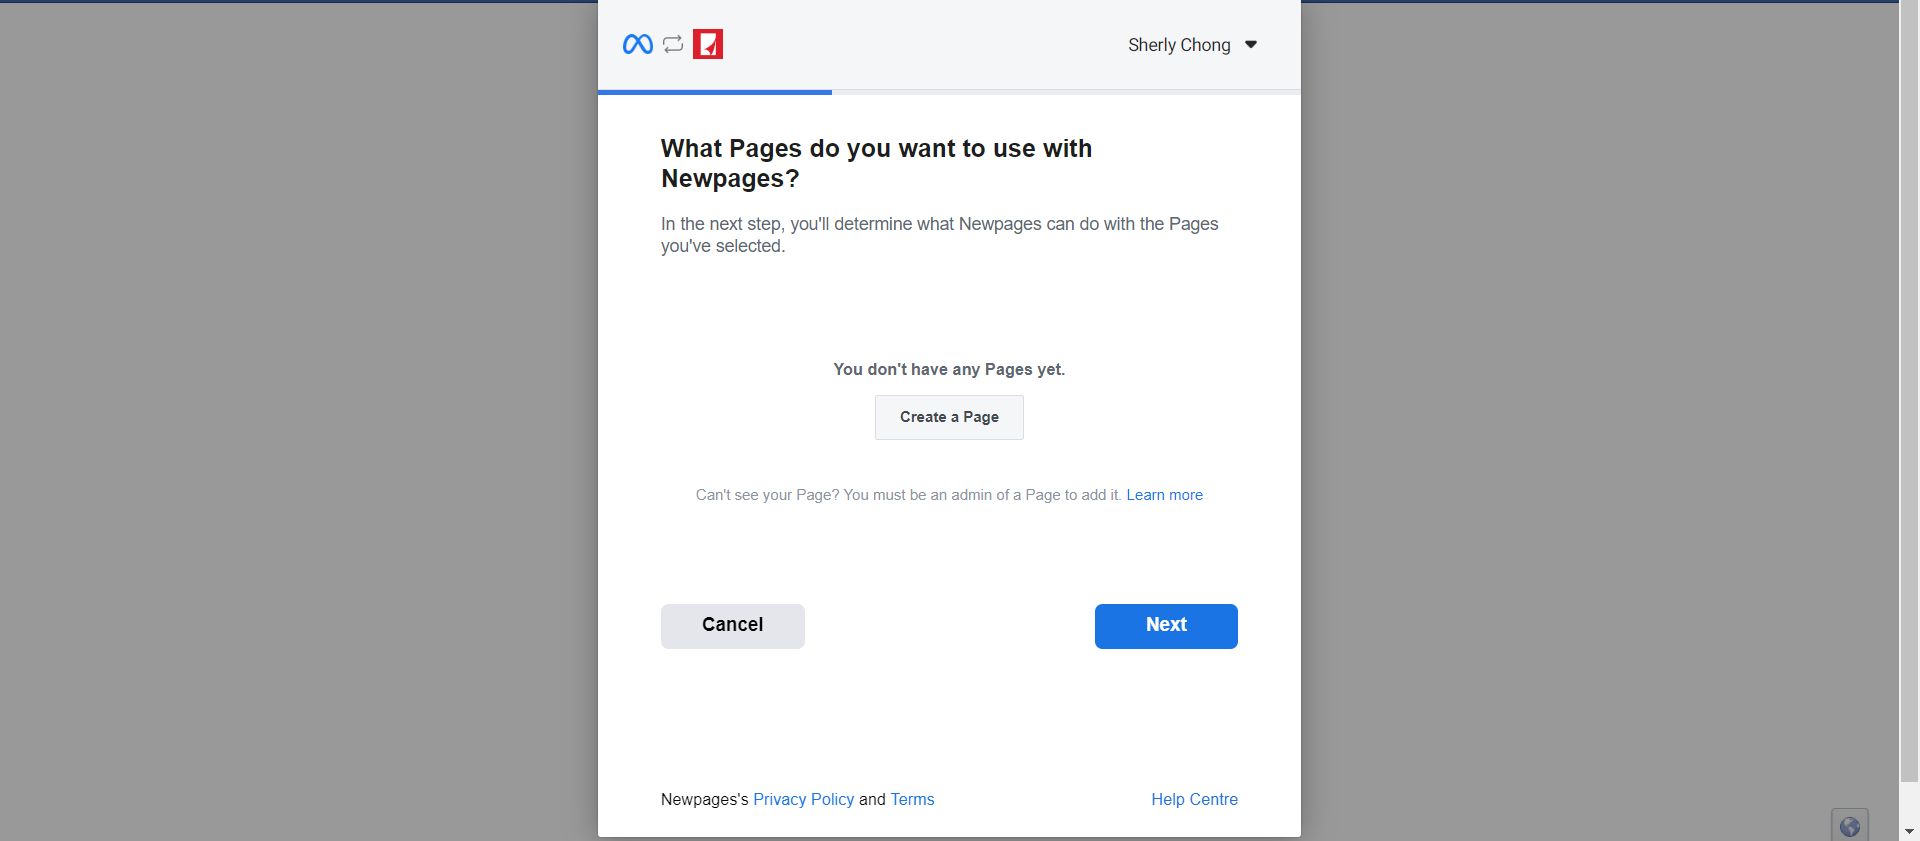
If don’t have Facebook Page, need create a page
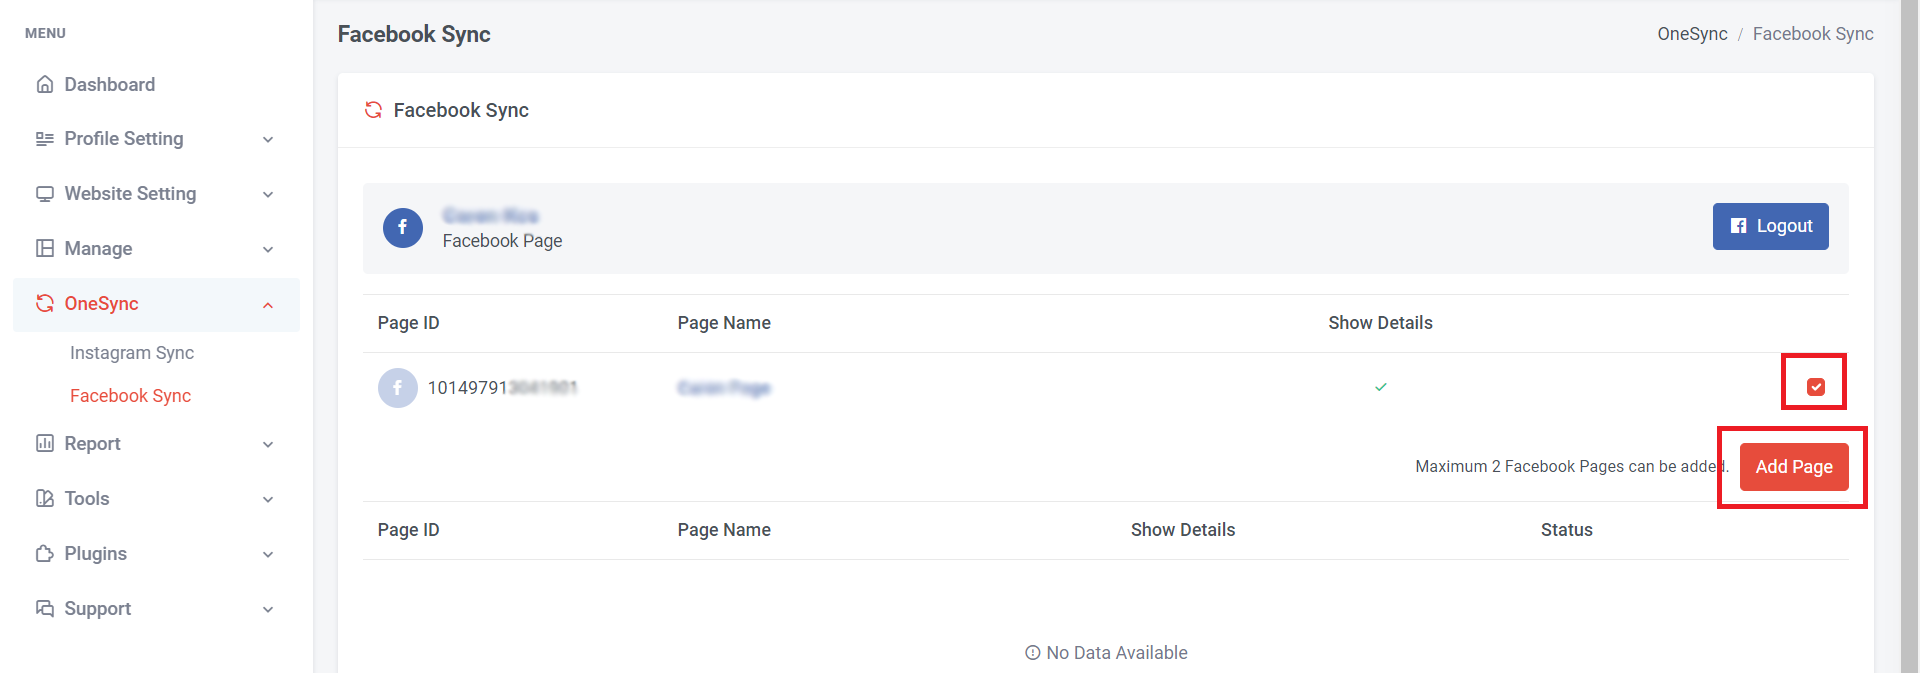
Step 5: Tick your Facebook Page > Click “Add Page”

Step 6: Click “Yes” for Facebook Sync
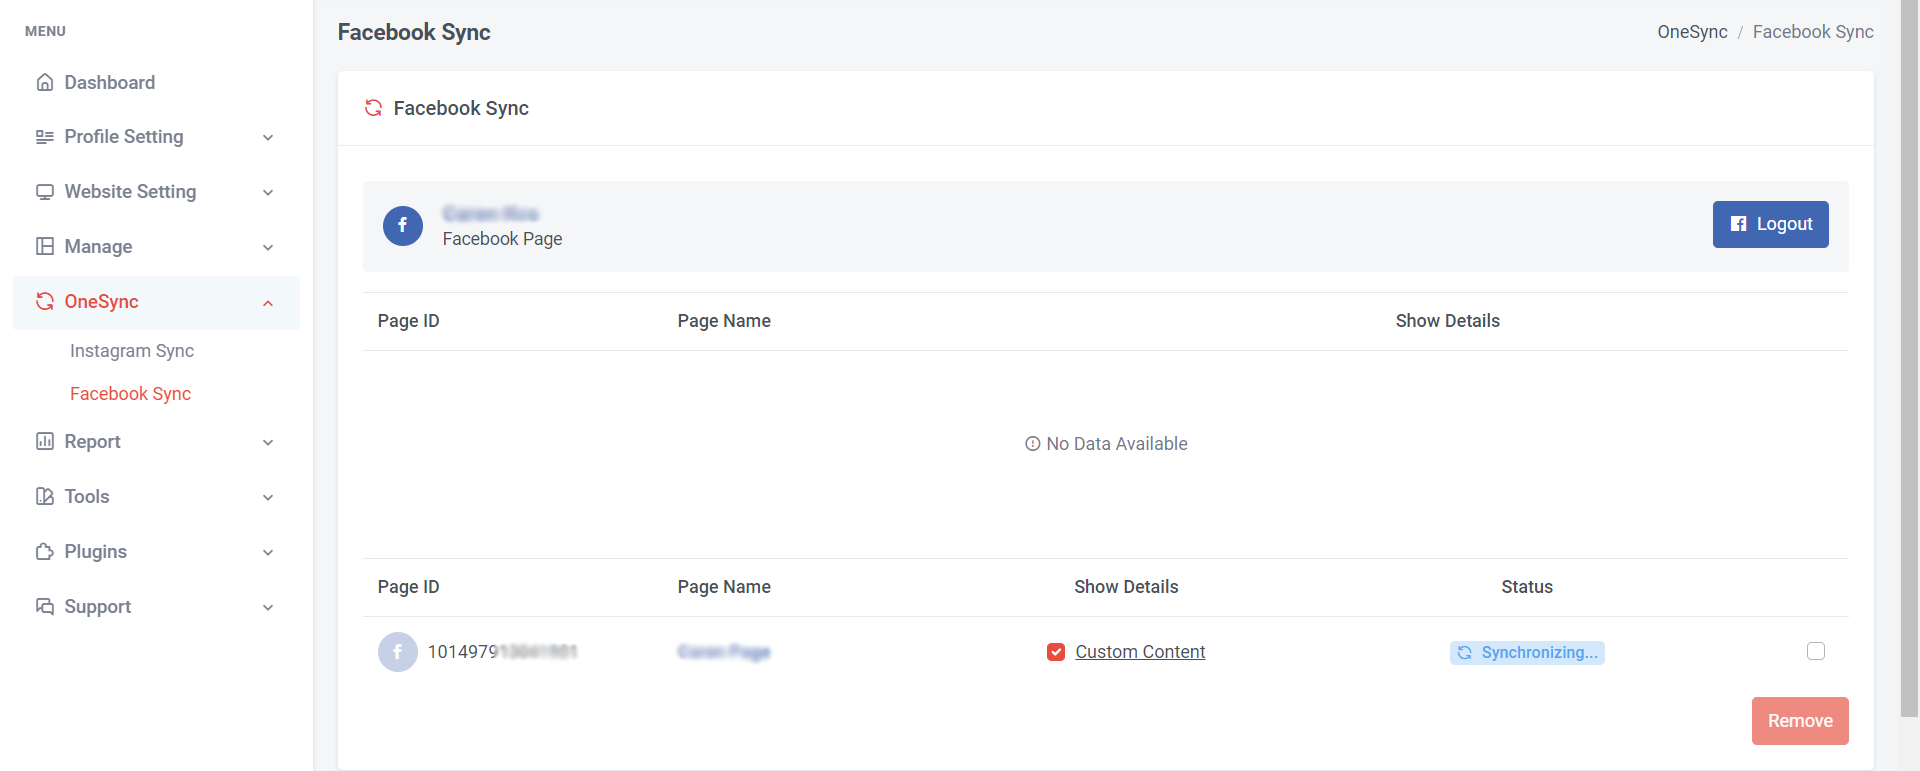
If you wish to customize the show details, you can click on 'Custom Content'.
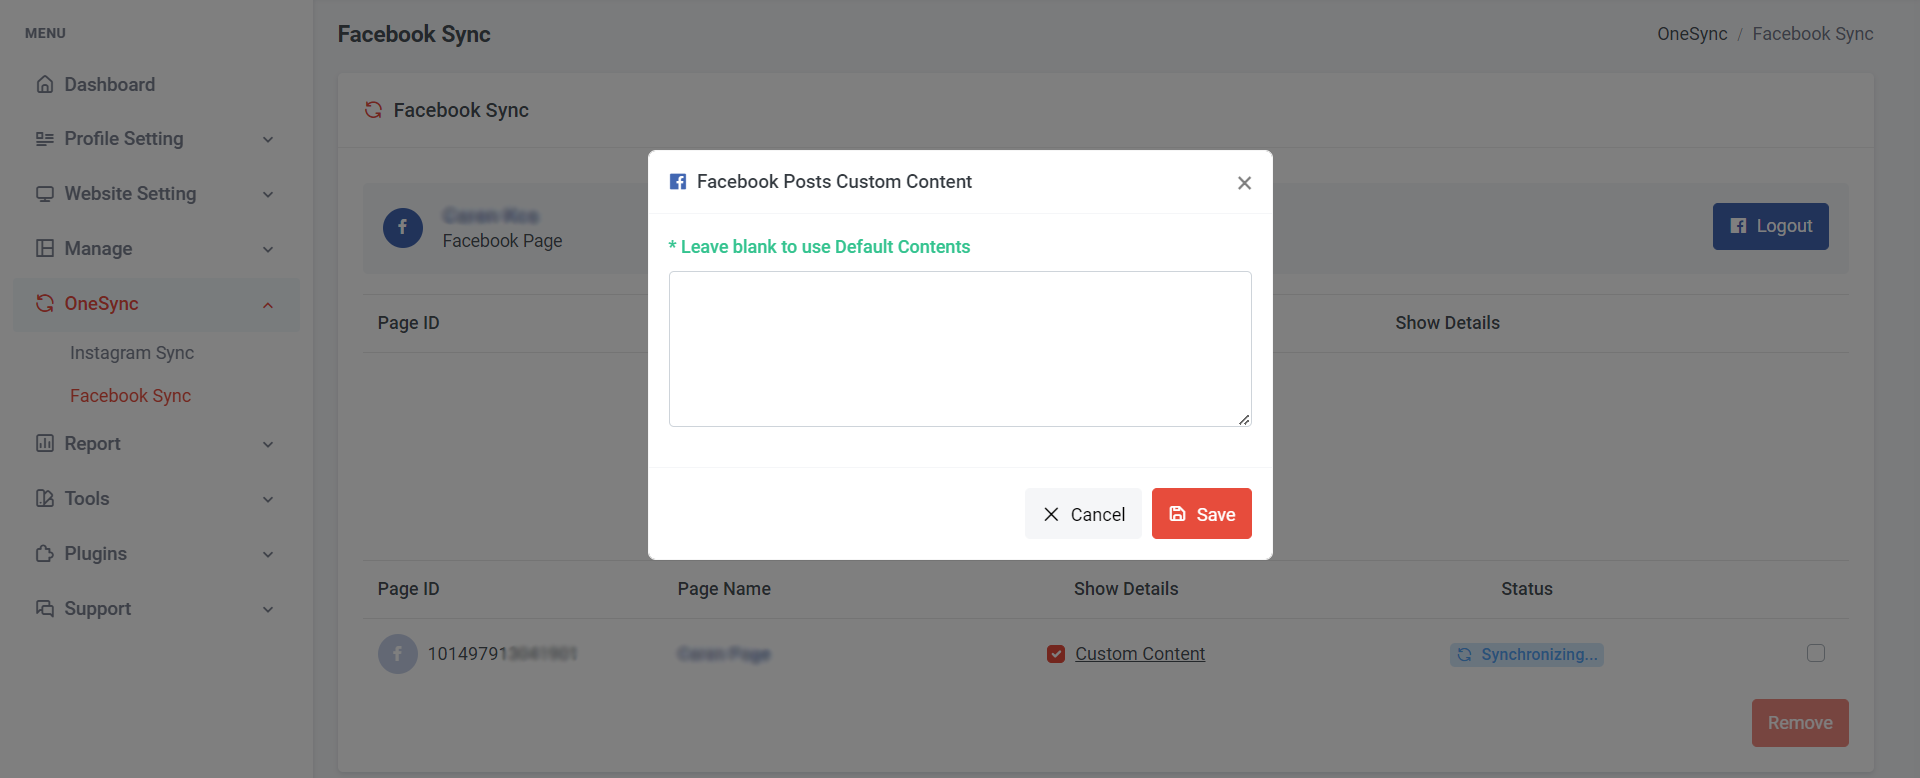
Type your content in the column and click “Save”; Leave blank to use Default Contents
***Encourage to use default contents
Section 2: How to disconnect Facebook account
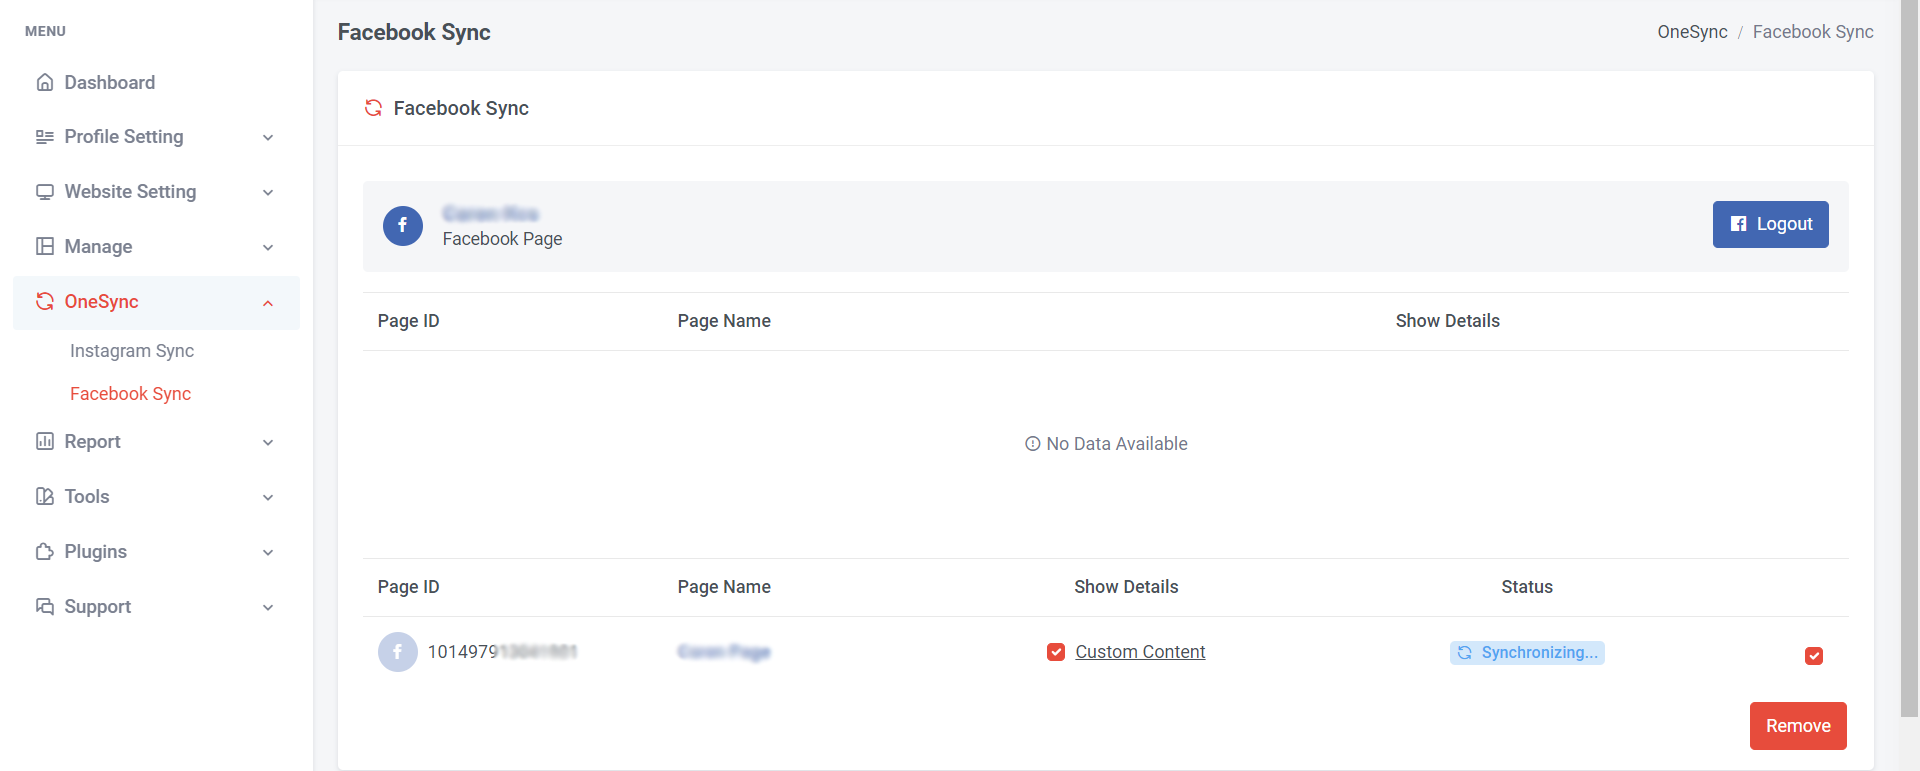
Step 1: Tick the Facebook page > Click “Remove”

Step 2: Click “Yes”
Section 3: How to connect Facebook if you page is under Facebook Business Account
Section 5: Sample View of Facebook Page
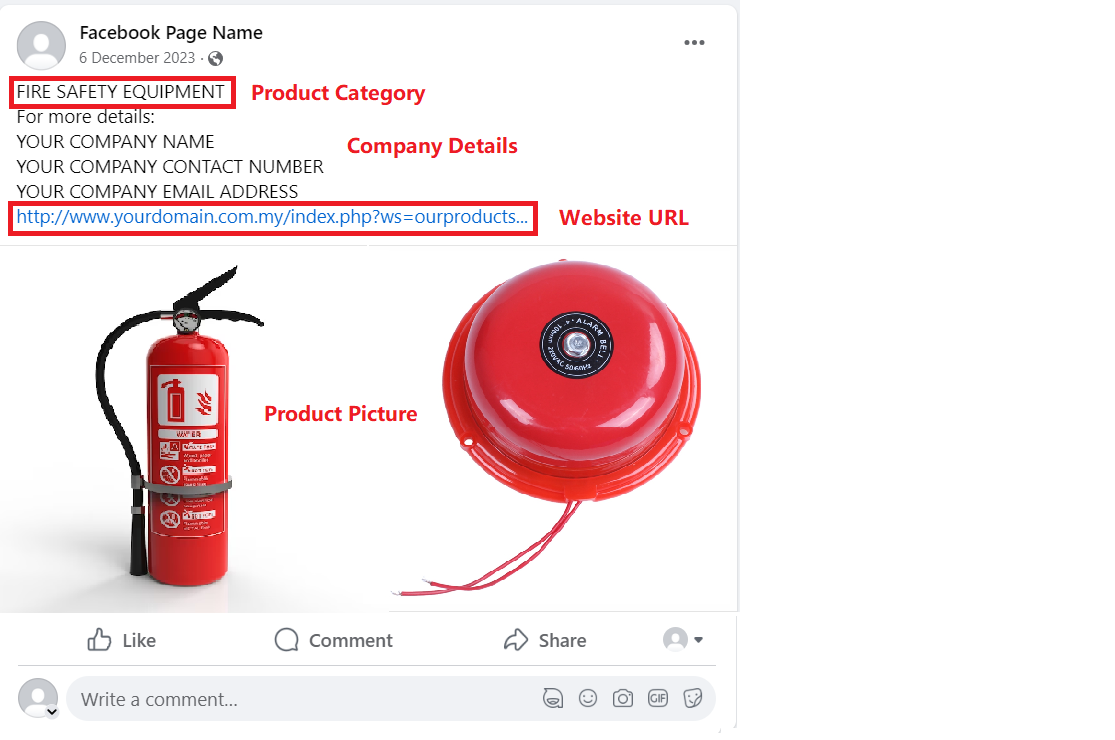
This is the default content that will show on Facebook
a) Product Category
b) Company Details
c) Website Link – will link to the website product page
d) Product pictures
When click on the product picture, it will show
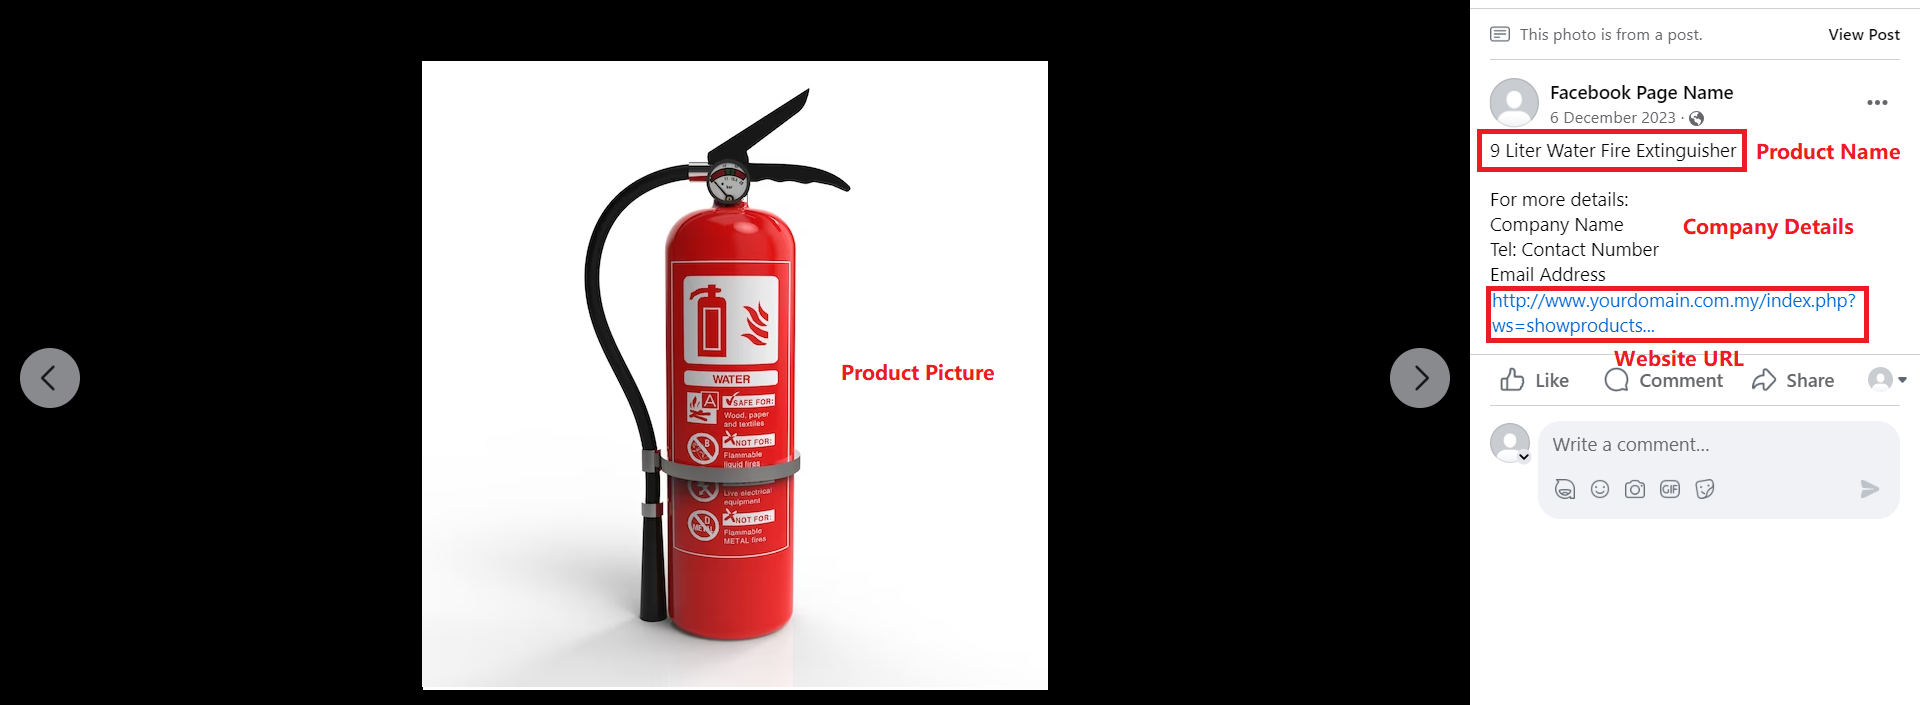
a) Product picture
b) Product Name
c) Company Details
d) Website URL – will direct link to this product for more details