Select Categories
How to Add Salesperson & Manage Binding
February 5, 2024Section 1: Introduction
Outperform your competitors on a professional level! All of your corporate sales executives will have their own personalized sales landing page to promote your products and services. Additionally, they will have full control over their landing page, and even beginners can easily customize their own pages.
This feature not only helps to promote your company and brand through the website, but it's also a win-win feature for your sales team, who can use the website together to make potential customers feel more confident about doing business with you!
Section 2: How to access to Sales Landing Page?
For Main Users, can use below method to access:
Method 1: Search for “Sales Landing Page” in the search menu bar at the top of NMS.

Method 2: After activating the plugin, refresh your browser. It will appear in the left-side menu. click on Sales Landing
Section 3: How to Add Salesperson?

Step 1: Click “Add Sales Person”

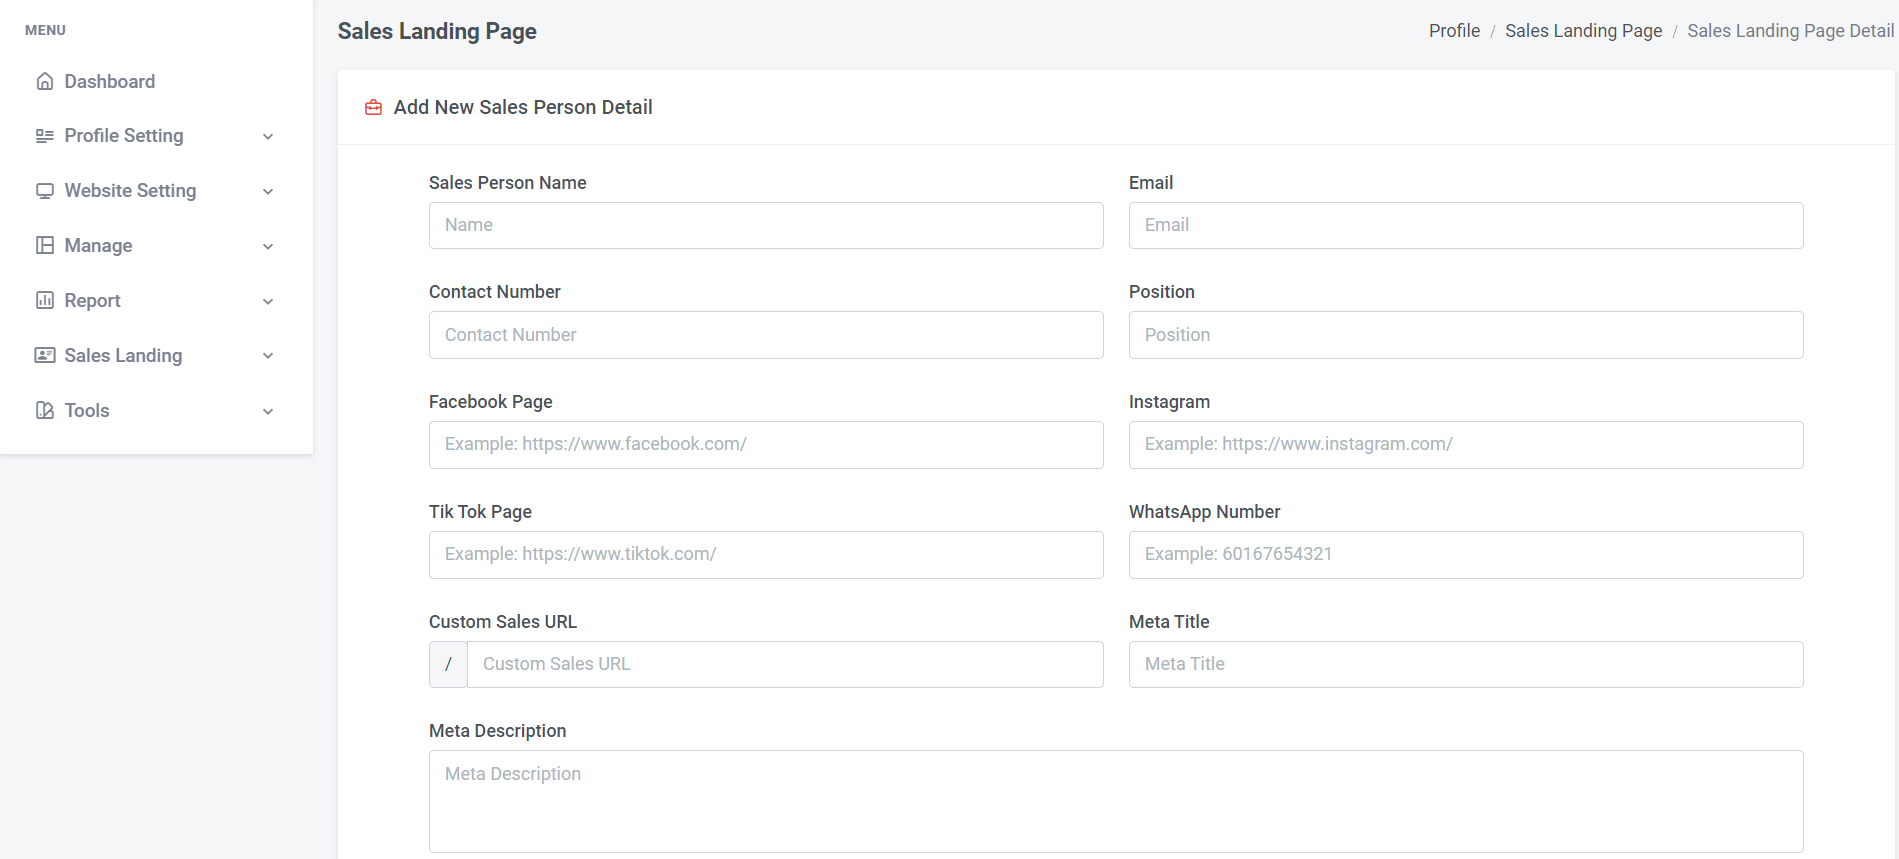
Step 2: Fill in Sales Person Detail
a) Sales Person Name
b) Email
c) Contact Number
d) Position
e) Facebook Page
f) Instagram
g) Tiktok Page
h) WhatsApp Number
i) Custom Sales URL – You can customize the URL, for example: https://yourdomain.com/test/
j) Meta Title - The meta title is like the name of a webpage. It informs search engines and users about the page's content. It's recommended to limit the meta title to 50-60 characters.
k) Meta Description - The meta description is a brief summary of what the webpage contains. It appears below the meta title in search results, helping users decide whether to click and visit your site. It's recommended to keep your description between 150-160 characters.

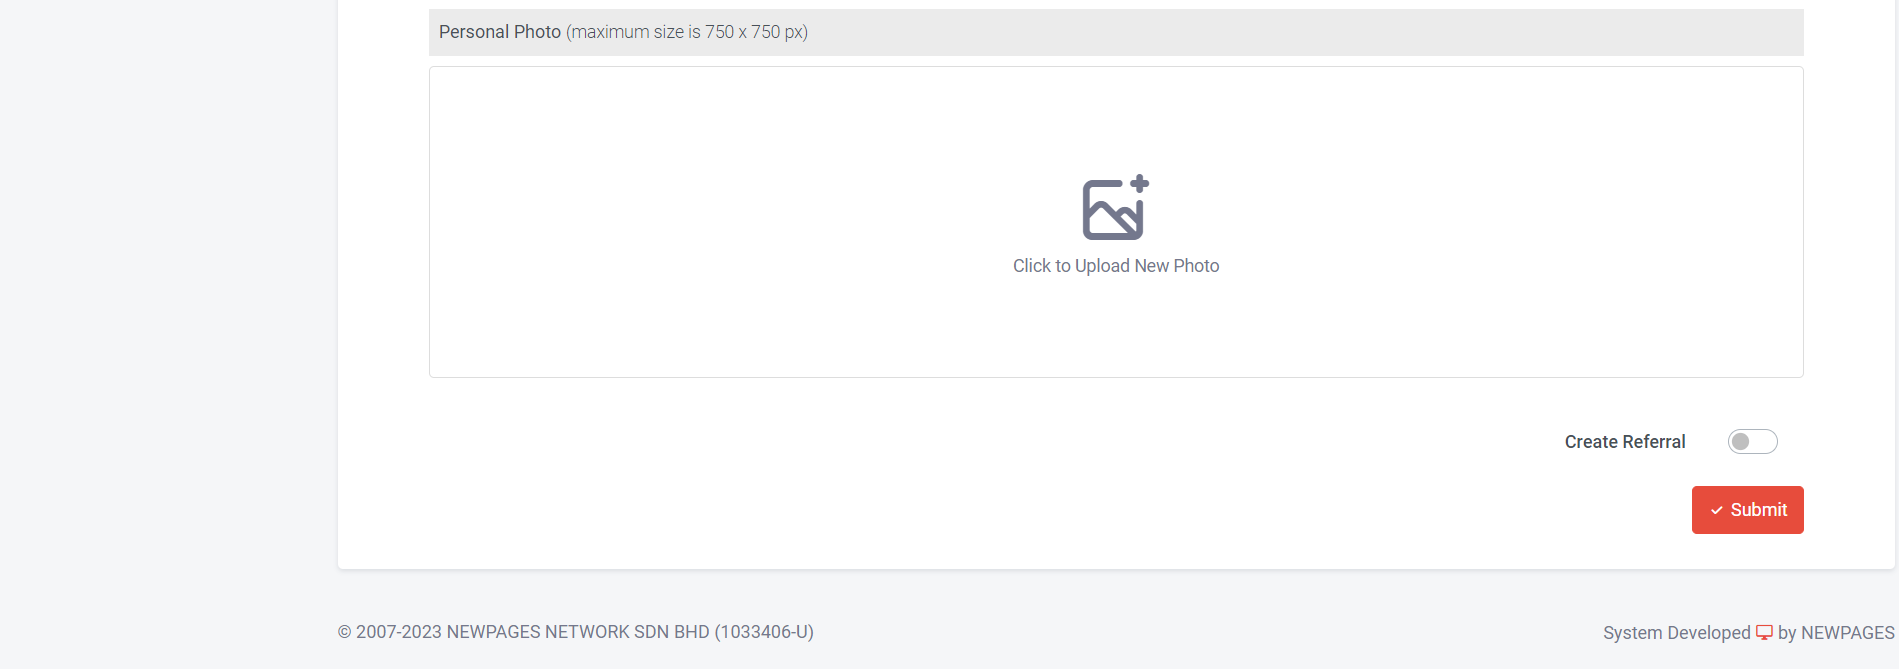
Step 3: Upload Personal Photo
Step 4: Create Referral – Use together with affiliate marketing and referral plugins. If you have this plugin, you can create referral account for your salesperson / staff
Learn more about affiliate marketing and referral plugins
Step 5: Click “Submit”

Step 6: Click Detail Edit

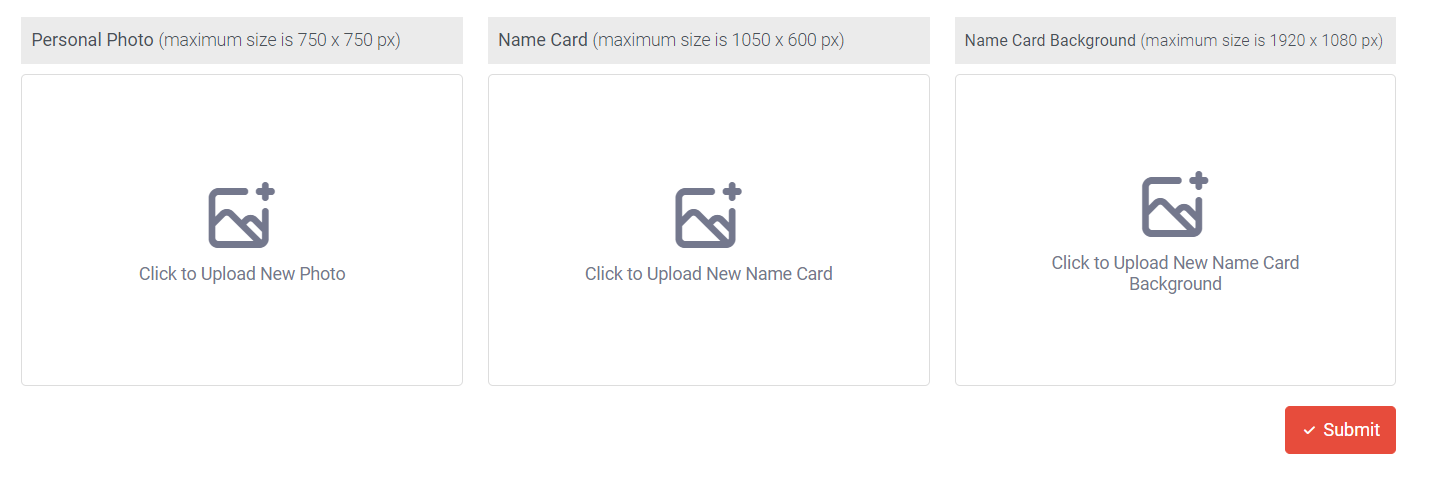
Step 7: Click to Upload New Photo, New Name Card or New Name Card Background (For a better viewing experience, please adhere to the maximum size for each photo)
Step 8: Click “Submit”
Section 4: What is the function of Manage Binding?
If you, as the main user, want your salespeople or staff to handle their own landing pages without accessing other functions, you can create sub-user for each salesperson / staff to manage their own pages.
Learn more about How to Add Users
Section 5: How to Manage Binding?

Step 1: Click “Binding Sub User”

Step 2: Select the salesperson/staff you created in section 3.
Step 3: Choose the sub-user you created in User Roles & Management.
Step 4: Click “Submit”
Once binding, the salesperson/staff can log in using their username and password to manage their own landing page.